Editing Aquarium Photographs
HOW TO EDIT PHOTOGRAPHS ONLINE AQUARIUM COMPETITIONS & FORUMS

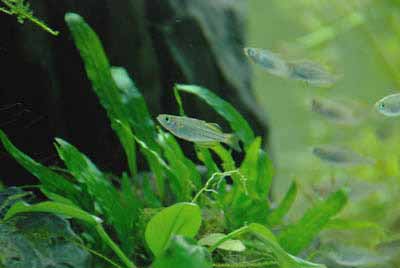
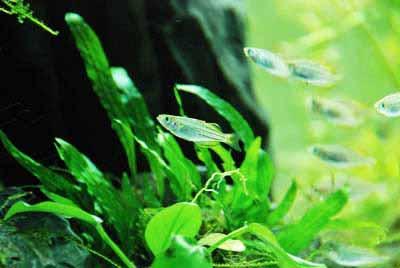
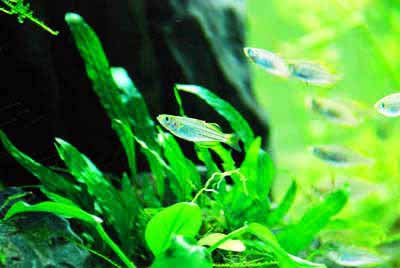
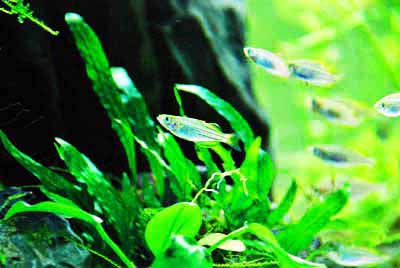
Editing photos is a very popular method of color correction and enhancement. It is particularly important with aquarium photos due to unusual coloration and lighting that can be picked up from the camera sensor. DSLR Raw photos also need to be processed before they can be used. There are a number of free and paid programs that enable the user to change contrast, brightness, shadows, saturation and color balances. Editing your photos can make a huge difference in what the end result looks like, it is nice to have the photos replicate what we see with our own eyes and not what the camera perceives. It is also helpful improving the color and definition making for spectacular photographs that can be entered in competitions.
Editing software is necessary to color correct and adjust photos. There are countless free examples on the web. Many of these, such as Fotor, do not need the user to download a program and can be used directly in the browser. For more complex editing a serious photographer will want to have access to Adobe Lightroom, Photoshop or both. Microsoft computers have an inbuilt photo editor that can achieve decent results.

Cropping and Straightening

- Open the image in the editing software and start with the straightening feature. Generally when you take a picture by hand it will be sightly sloping left or right. Correct this with a level tool in the program, making sure to keep horizontal lines parallel to the top and bottom edge of the photograph.
- After straightening the image use a crop feature to reduce the size of the image. Generally the focal point should be 2/3 or 1/3 across the image. Crop unwanted parts of the image but leave enough room to still give the photo perspective.
- Shoot photos at night where there is no natural light to interrupt and spoil the colorations of the aquarium. Turn off lighting near the aquarium to avoid reflections and wear darker clothing.

Brightness & Saturation

- Open the brightness and contrast settings in the program. In photoshop this is done by clicking image > adjustments > brightness/contrast. Other programs are similar and often have a picture of a bisected white and dark circle for contrast and brightness settings.
- Lighten or darken the image and add contrast to enable darker blacks and brighter whites.
- Open the hue and saturation settings and adjust the saturation to a level that is similar to what is seen from the eye. The color temperature or ‘hue’ can be changed mildly to resemble what the original fish or tank looked like.
- Many editing programs will have functions for automatic contrast and color adjustments. These often work well and need little adjustment.

Shadows & Sharpening

- Shadows and Highlights can be adjusted to reveal more of the aquarium by dimming the highlights and brightening the shadows. Often after doing so, contrast will need to be slightly increased to remove the washed out look. Only increment shadows and highlights in small margins.
- Small amounts of sharpening can also be added to help crisp edges and define fish and aquatic plants. Sharpening is usually found in the same editing menu on most programs, in Photoshop use Filters > Sharpening.


